
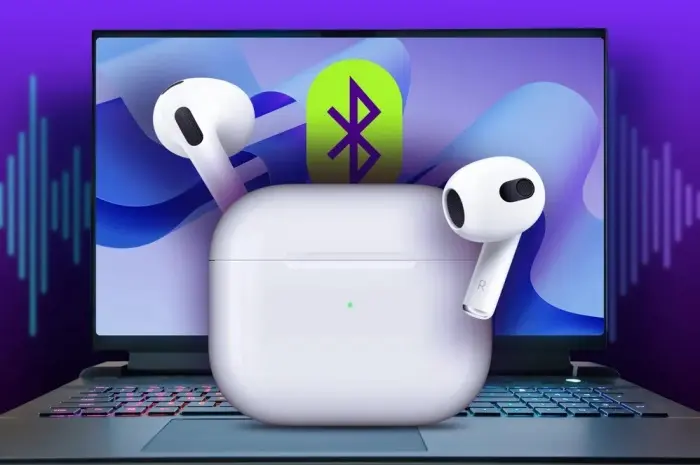
Effortlessly connect your AirPods to a Windows PC with our quick and easy guide, ensuring seamless audio integration across all your devices.
Apple’s AirPods have become one of the most popular wireless earbuds on the market, known for their seamless integration with Apple devices. However, many users may not realize that AirPods can also be used with Windows PCs.
Whether you’re looking to enjoy music, take calls, or join video conferences, connecting your AirPods to a Windows PC is a straightforward process.
This guide will walk you through the steps to effortlessly connect your AirPods to a Windows PC and troubleshoot any common issues you might encounter.
Step 1: Ensure Bluetooth is Enabled on Your Windows PC
Before you can connect your AirPods, you need to make sure that Bluetooth is enabled on your Windows PC. Here’s how to do it:
- Open Settings: Click on the Start menu and select the Settings gear icon.
- Navigate to Devices: In the Settings window, click on “Devices.”
- Enable Bluetooth: Ensure the Bluetooth toggle is switched to “On.” If it’s not, click the toggle to enable it.
Step 2: Put Your AirPods in Pairing Mode
Next, you need to put your AirPods into pairing mode so that they can be discovered by your Windows PC:
- Open the AirPods Case: Open the lid of your AirPods case but leave the AirPods inside.
- Press and Hold the Button: Locate the small button on the back of the AirPods case. Press and hold this button until the LED light on the front of the case starts blinking white. This indicates that your AirPods are in pairing mode.
Step 3: Pair Your AirPods with Your Windows PC
Now that your AirPods are in pairing mode, you can connect them to your Windows PC:
- Open Bluetooth Settings: In the Devices menu of the Settings window, click on “Bluetooth & other devices.”
- Add a Device: Click on “Add Bluetooth or other device” and then select “Bluetooth” from the options.
- Select Your AirPods: Your PC will start searching for nearby Bluetooth devices. When you see your AirPods appear in the list, click on them to initiate the pairing process.
- Confirm Pairing: After a few moments, your PC should display a confirmation that the AirPods are connected.
Step 4: Set AirPods as Your Default Audio Device
To ensure that your AirPods are used for audio output, you may need to set them as your default audio device:
- Open Sound Settings: Right-click on the speaker icon in the taskbar and select “Open Sound settings.”
- Choose Output Device: Under the “Output” section, use the drop-down menu to select your AirPods as the default device.
Troubleshooting Common Issues
While the process of connecting AirPods MacFest Mesa to a Windows PC is generally straightforward, you may encounter some issues. Here are a few common problems and how to resolve them:
- AirPods Not Showing Up in Bluetooth List: Ensure your AirPods are in pairing mode (blinking white light) and that Bluetooth is enabled on your PC. If necessary, restart your PC and try again.
- Connection Drops: If the connection between your AirPods and PC keeps dropping, try unpairing and then re-pairing the devices. Additionally, make sure your AirPods are charged and close to your PC.
- Audio Issues: If you experience poor audio quality or no sound at all, check the Sound settings to ensure your AirPods are set as the default playback device. Updating your Bluetooth drivers through the Device Manager can also help resolve audio issues.
Benefits of Using AirPods with a Windows PC
Using AirPods with your Windows PC offers several benefits:
- Wireless Convenience: Enjoy the freedom of wireless audio without being tethered to your PC.
- High-Quality Sound: Benefit from the superior sound quality that AirPods are known for.
- Seamless Switching: Easily switch between devices, such as from your iPhone to your Windows PC, enhancing your productivity and convenience.
- Built-In Microphone: Use the AirPods’ built-in microphone for clear audio during calls and virtual meetings.
Conclusion
Connecting your AirPods to a Windows PC can enhance your audio experience by providing high-quality sound and the convenience of wireless technology.
By following the simple steps outlined in this guide, you can effortlessly pair your AirPods with your Windows PC and enjoy seamless audio integration across your devices.
Whether you’re using them for work or leisure, AirPods can be a versatile addition to your tech setup. If you encounter any issues, the troubleshooting tips provided should help you resolve common problems and ensure a smooth connection.